No products in the cart.

The Tools for Success: Your Guide to Makeup Brushes
Makeup. It’s amazing how something that can look so effortless actually requires a complicated process. The tiniest detail can be the difference between a seamless beat and ?.
Everything I know about makeup I’ve learned only in the past year. I would spend hours watching Auntie Jackie on YouTube, often the same videos over and over again, trying to absorb her expertise before I trying it for myself.
Early on, I realized one of the most important parts of makeup is not the makeup itself. It’s not the colors, primers, or even the formulations. It’s the brushes, the application of the makeup itself, that can make or break your look!
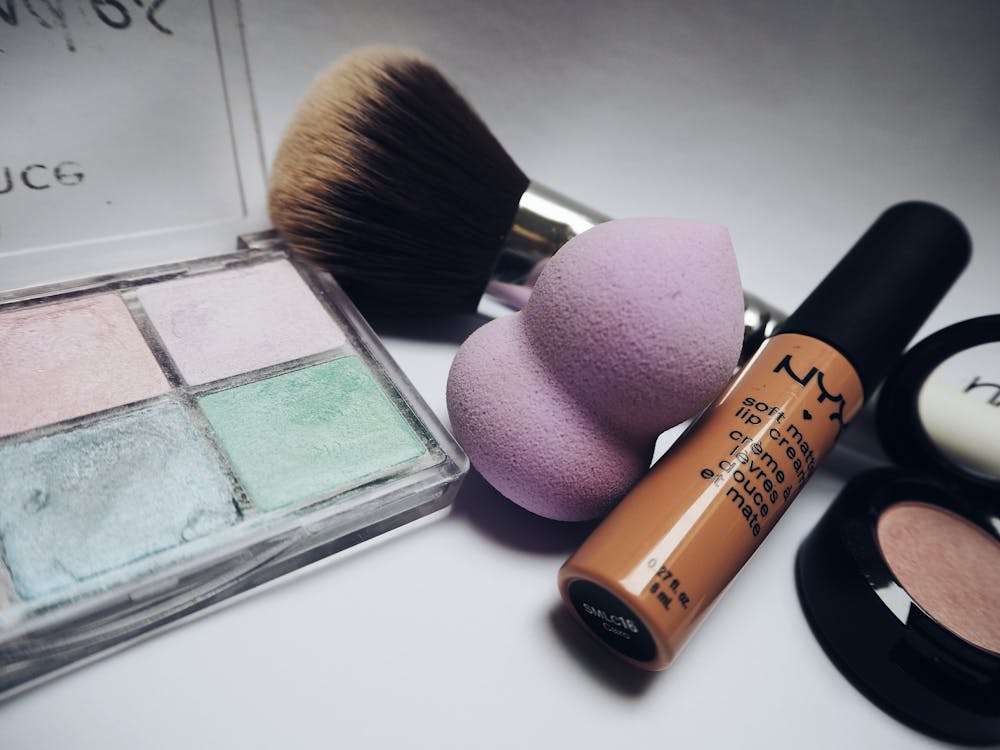
Here are some tips for my makeup newbies on the best brushes for each step, based on density and shape:
Face
For Primer
Tricked ya! Primer is actually best applied using clean hands and fingers. Using a brush will only dilute the product. I recommend using Benefit’s The POREfessional Face Primer or the Too Faced Hangover Replenishing Primer. Apply this after SPF and before concealers / color correctors!
For Concealer and Color Correctors
These brushes need to be dense and wide to blend into the skin before or after foundation. . Plus, this type of brush also works to set your eye primer (you can also use concealer to prep for eyeshadow!). The Airbrush Blurring Concealer Brush from IT for ULTA is large and dense enough blend the product into the rest of the base without diluting the coverage!
For Foundation
Your foundation brush should also be dense and larger, definitely larger than your concealer brush to help cover more area. I love this Multi-Purpose Buffing Brush from NYX for its density and flexibility.
#MelaninMoiTip – Spritz your foundation brush with setting spray before blending in the foundation. This will help better set your base. Don’t forget to finish your look off with a final layer of setting spray!
For Baking
Blending sponges, like this one from Real Techniques, are very effective for baking, since they are dense & concentrated enough to pack on the powder.
For Blush/Bronzer
For blush, I like my brushes large, fluffy, and flat, but I like to bronze with large, fluffy, and curved brushes. Both need to be fluffy to ensure blending into the foundation, but there’s a slight difference due to where the pigment is placed; blush is placed on top of the cheeks, where the face is flatter, while bronzer is applied around the cheekbones and on the temples, where the face is slightly rounder. The Real Techniques Instapop Face Brush is perfect for blush, while the EcoTools Blending & Bronzing Brush will have you bronzed to perfection!
For Contour
Contour thrives when applied with flat, narrow brushes so that it can be placed under the cheekbones to create a shadow effect. The e.l.f. Contouring Brush has the perfect shape to achieve this!
For Finishing Powder
After finishing up most of the face, I like to sweep over a light layer of translucent powder just to further soften the appearance of pores. For this, the brush just needs to be large and fluffy. I use the Real Techniques Powder Brush.
For Highlighter
This is my FAVORITE part of a beat face, but it is tough to do well. I know some people love a fan brush for this, but I prefer a fluffy, tapered brush. The Setting Brush from Real Techniques has a similar shape that’s pointed enough to correctly place the highlight but also soft enough to blend it seamlessly into your base. This is suitable for anywhere on the face (cheekbones, temples, lips, and bridge of nose) but also on the body (notably, the collarbone).
Eyes

Packing color
When laying down a shadow, either as a base for a glitter or just as your main hue, you want to use a dense flat brush. It doesn’t have to go on perfectly, but it helps you pack on a lot of pigment that can be blended out in later steps. This set from Real Techniques is perfect for this!
Blending edges
Blending out harsh lines from the crease upwards & outwards will make your look more refined. To create this effect, use a small tapered fluffy brush. You don’t want to use a very dense brush but rather something light and airy to dilute the pigments you packed on earlier. This brush from Essence is perfectly shaped for this!
Smoking out lines
One of my favorite effects is the smoked out lash line and wing. It just adds little something extra to a look! To achieve this look, use a small pointed brush after applying the shadow/liner. The Airbrush Ultra-Fine Liner Brush from IT is a great tool for getting the smoked look.
You don’t need expensive tools to have a bougie look, but it’s important that the form fits the function. Even the best PAT McGRATH eyeshadow or Mented foundation needs the right brush to work its magic. And of course, the key to having a good technique is practice!
What are some of your favorite brushes? Sound off in the comments!